


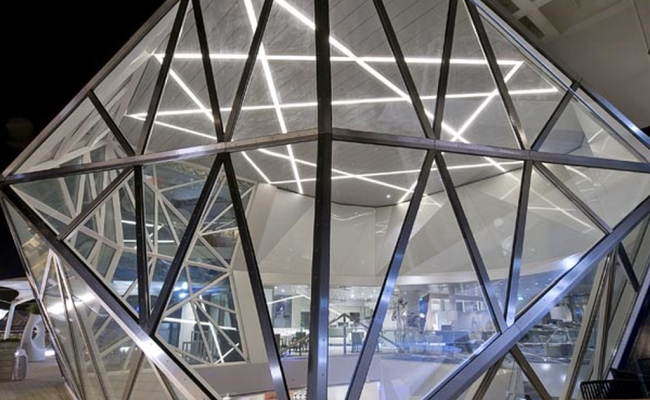


Ten top tips for solving a glass break
Glass breaking can be frustrating and perplexing, especially when it appears to happen for no reason. While diagnosing the cause of a fracture can be difficult for an installer, it is often necessary to find a solution and prevent similar breaks from happening again.
Glass can break for a number of reasons, from edge damage to poor installation or thermal stress.
Below are some helpful pointers to bear in mind when investigating a breakage.
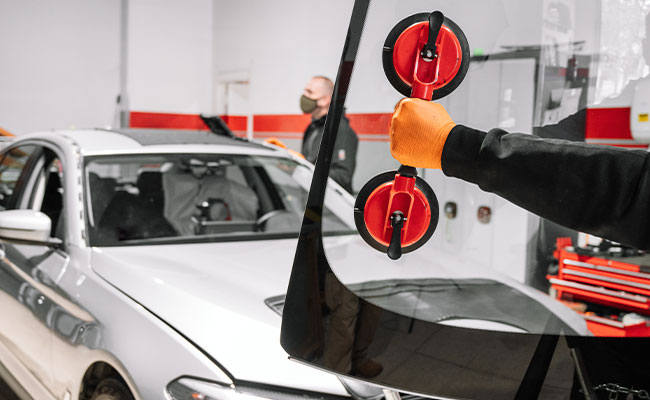
1. Get kitted out. Having the right equipment is vital for glass inspection. The bare essentials are an eyepiece (or magnifying glass) and a torch.
2. Know the history. Ask questions about activities that were taking place near the glass and check the weather conditions at the time of fracture. Building up a history of the glass can quickly reveal the reason behind its breakage.
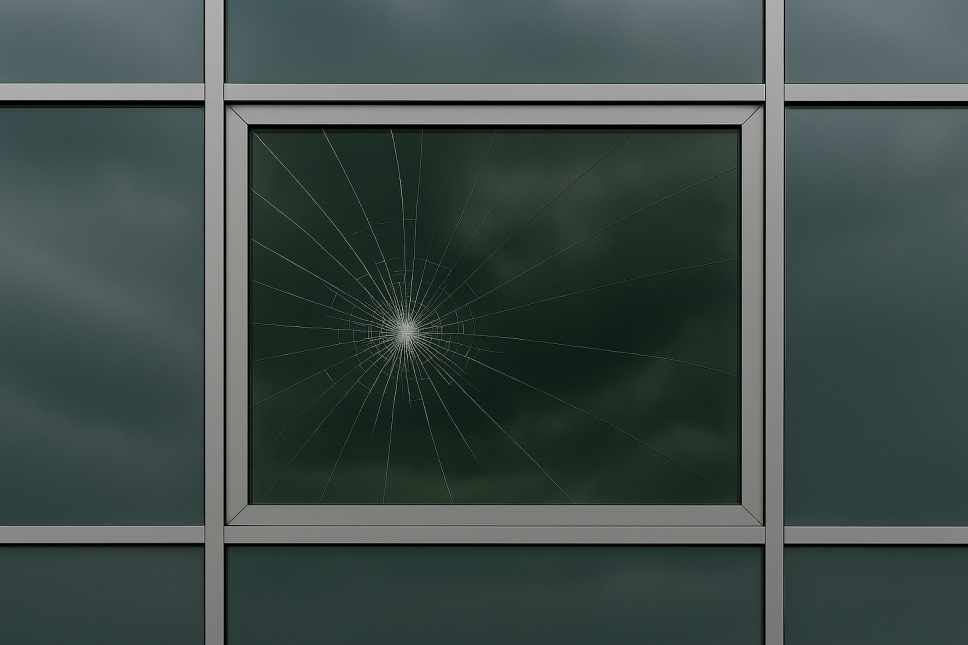
3. Keep things in perspective. While viewing the glass surface can be useful, the most conclusive assessment is often gained by examining the fracture origin from the edge.
4. Branch out. Following the cracks, or branch lines, in the glass can point to where the break originated from. Apply tape to the pane to retain the pieces. If the fragments are on the floor, don't sweep them away – they’re evidence!
5. Say cheese! Photograph the fracture pattern for further examination or for seeking a second opinion from a colleague or professional expert.
6. Mirror image. The size of the highly polished area – known as the mirror – around the origin of the fracture can be used to estimate the stress at failure. The smaller the mirror radius, the higher the stress. If the stress was high at time of breakage, this could indicate the glass was overloaded.
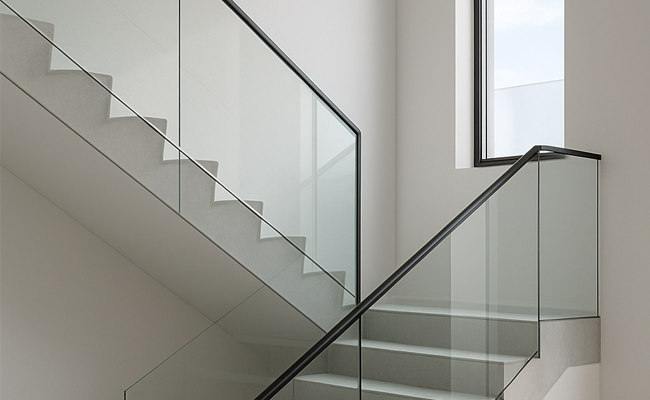
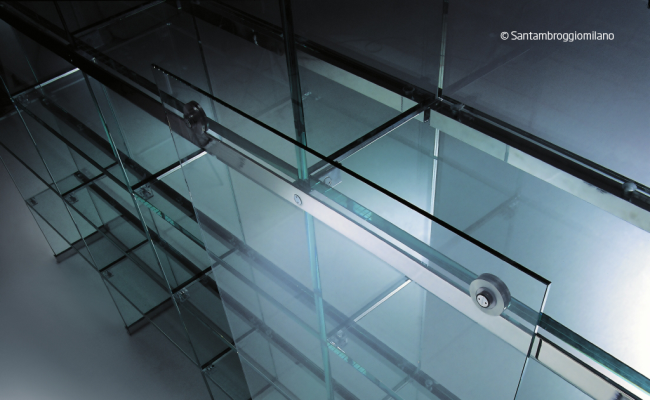
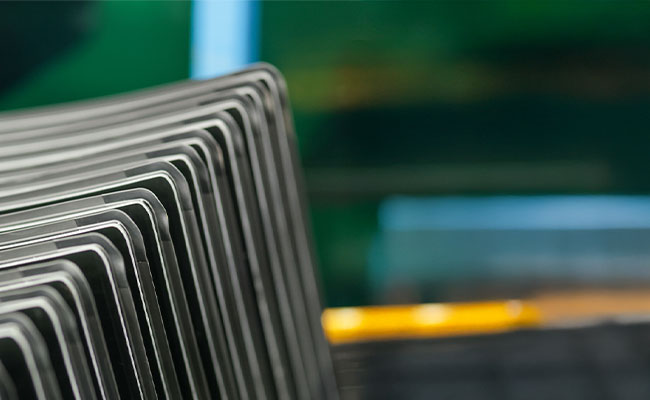
7. Closer to the edge. Damaged or poor-quality edges are often prime reasons for a breakage. Inspect the edges closely.
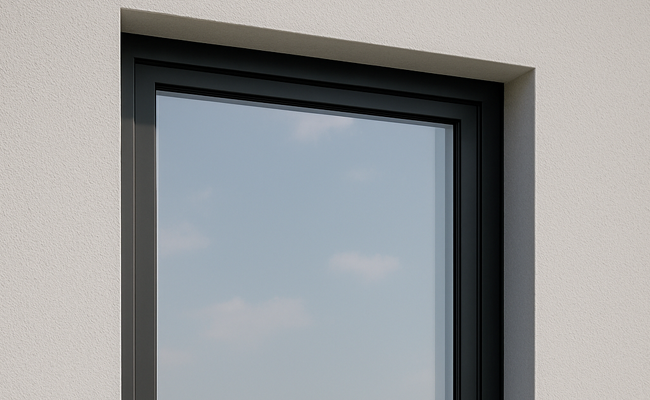
8. Check the glazing method. The way in which the glass is installed can result in a variety of loadings that can cause failure. For example, protruding screw-heads, non-flat rebates or excessive fixing pressure can all lead to fracture.
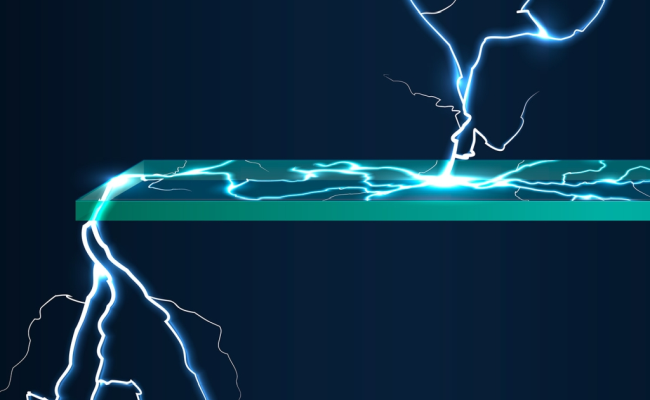
9. Getting warmer. Do you suspect the glass was at risk of thermal fracture? This occurs when sufficient temperature differential is created across the glass, particularly in spring and autumn when the sun’s angles are low and the nights are cold. Thermal breaks typically run from an edge and are perpendicular to the edge.
10. Don't jump to conclusions. The presence of butterfly wings – two larger pieces of glass – around the fracture origin of the breakage does not necessarily indicate a nickel sulphide inclusion. These can be present for a wide range of fractures in toughened glass.
Follow these tips to ensure you can properly diagnose the cause of a glass fracture and offer the correct solution to fix it.